 |
| Circle Printer Tray Frame |
1. Lay the bottom layer out on your workspace.
2. I then added double stick tape to the bottom layer.
3. I removed the protector off the double stick tape and smoothed out my Quick Quotes paper from Adventure Awaits Paper Pack QQP-AD101.
I then put the rest of the frame together meaning 2 chipboard frame layers, 1 acrylic layer and one more chipboard frame layer on top, carefully making sure they all lined up. I used Lipstick Powder Puff Chalking Ink to make the top layer Red. However, it was soaking into the chipboard and was not as bright as I wanted.
I then decided to take the top layer and cover it with a good smattering of Gesso. Once fully dry I covered with Lipstick Powderpuff Chalking ink again. When that was dry I used Beacon 3-in-1 glue to affix all layers together.
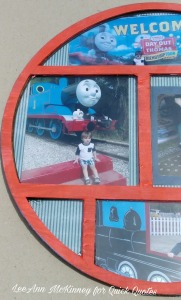
Right Side
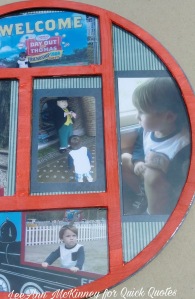
Left Side
Full Image.
I can't wait to see this in my grandson's room.
I will be purchasing some of these frames in the future from Clear Scraps, as they are quite easy to work with, and fun as well.
I hope you have stuck with me this far and enjoyed my project today.
I'll be back in a couple weeks with my next project, in the meantime please be sure to follow the blog so you are notified when we have another post.
QQ Products Used:Lipstick Powderpuff Chalk Ink
Adventure Awaits QQP-AD101
Beacon 3-In-1 Glue


I just love this! so cute! I think it will look great in a little boys' room!Alicia
ReplyDelete